
You must align your terrazzo floor installation with strict NTMA guidelines and ASTM F2170 relative humidity thresholds. Concrete subfloors must meet precise relative humidity limits before system placement begins. Proper concrete surface profile preparation guarantees strong mechanical bonding between structural layers. You need a fully cured subfloor to achieve a successful terrazzo floor in demanding commercial environments. Specifying thin-set tile products removes on-site curing delays completely.
G·ONE Premium Precast Terrazzo and sustainable building materials mitigate jobsite risk effectively. Controlled factory manufacturing provides exceptional quality control and long-term durability in high-traffic applications. You streamline the secondary installation phase while preserving design integrity across the entire facility.
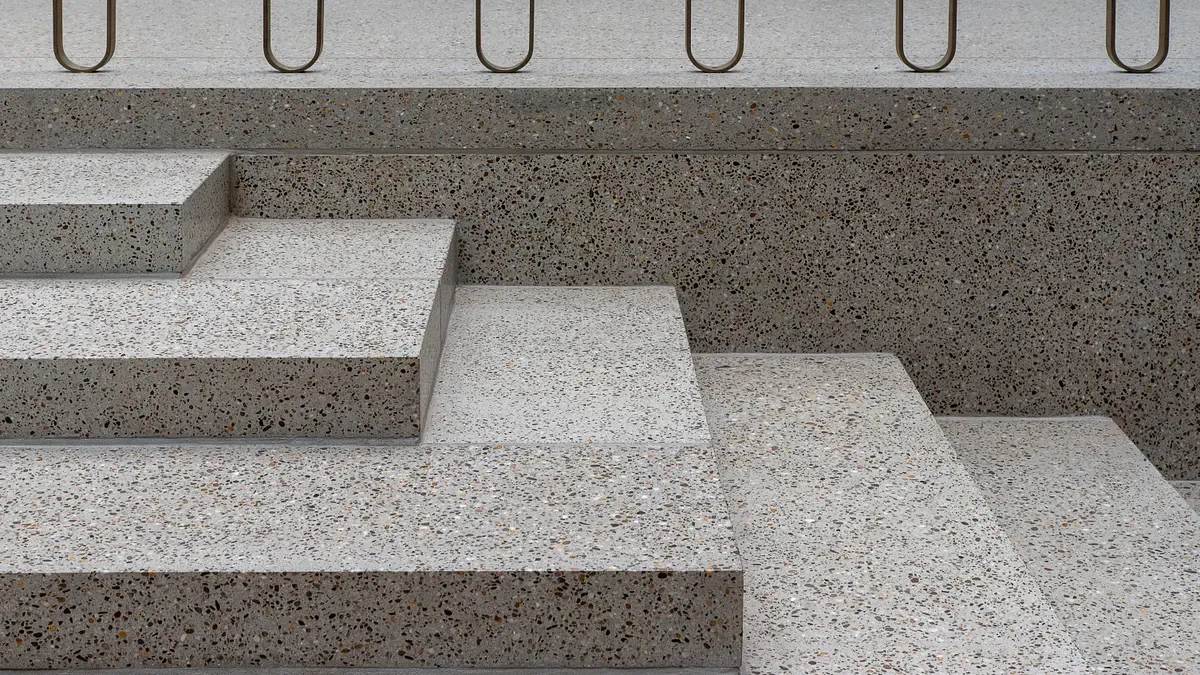
Key Takeaways
- Test concrete moisture and prep subfloors to build strong bases for durable terrazzo floors.
- Choose precast terrazzo tiles and strong epoxy binders to speed up project construction schedules.
- Grind, grout, and polish installed tiles sequentially to create extremely smooth, high-gloss surface finishes.
- Apply water-based sealers and neutral cleaners regularly to protect finished floors against deep stains.
Substrate Prep for Terrazzo Installation
Subfloor Curing and Moisture Testing
You must evaluate concrete subfloors carefully before starting any terrazzo floor installation. Performing relative humidity moisture testing ensures long-term floor performance. You must follow the ASTM F2170-23 standard to measure internal slab moisture accurately.
| Standard | Metric | Acceptable Limit | Method |
|---|---|---|---|
| ASTM F2170-23 | Relative Humidity (in-slab) | 75% RH or below | In-situ RH probe test |
Excessive moisture in floor slabs after floor covering has been installed can cause floor covering system failures such as debonding, peaking and deterioration of finish flooring and coatings and microbial growth.
You must place test probes at 40% depth for slabs that dry from one side. Allow probes to equilibrate for 24 hours before taking final readings. If your readings exceed 75% RH, you must apply a mitigation membrane. This step prevents system failure and protects overall installation safety.
Surface Profile and Crack Isolation
Proper surface preparation creates a strong mechanical bond for your terrazzo system. You should shot blast the concrete subfloor to achieve a concrete surface profile of CSP 3-7. For thin-set mortar applications, you need a smoother CSP 2-3 surface profile.
yield = good units / total units x 100
Mechanically scarified concrete surfaces must render a concrete surface profile of CSP 2-3 similar to a light broom finish as defined by International Concrete Repair Institute (ICRI) Guideline No. 03732.
Your general contractor must coordinate layout plans with adjacent trades early. You should submit proof that your terrazzo installation contractor completed at least five projects of similar size. You must treat existing concrete cracks with a flexible epoxy crack suppression membrane. Applying this epoxy layer prevents subfloor cracks from transferring through your finished terrazzo. You can then place divider strips and set floor drain elevations correctly. Proper trade coordination guarantees a smooth installation across the jobsite. Applying these steps protects your epoxy terrazzo floor against structural movement.
Precast Terrazzo Floor Specifications
Matrix and Aggregate Ratios
You must establish exact material parameters to achieve a durable terrazzo floor. Your project specification needs custom aggregate blends combining high-grade marble or recycled stone. Marble tile aggregate requires a standard particle size distribution within 1–8 mm mesh. Selecting this size range ensures uniform visual texture across every single tile. You must choose the right binder system to hold these aggregates securely under heavy traffic.
| Criterion | Epoxy Binder | Cement Binder |
|---|---|---|
| Aggregate Compatibility | Compatible with all aggregate types and sizes | Limited aggregate types; dislodgement risk from shrinkage |
| Compressive Strength | More than three times stronger than cement | Lower compressive strength |
| Tensile Strength | Substantially stronger; reduces cracking risk | Lower tensile strength |
| Flexural Strength | Superior performance without warping or cracking | Lower flexural strength |
An epoxy binder provides maximum structural performance for thin-bed systems. Superior flexural strength allows an epoxy terrazzo matrix to resist heavy loads without cracking. The epoxy binder creates a strong chemical bond with recycled stone chips. This chemistry prevents aggregate dislodgement during rigorous grinding phases. Specifying high-performance epoxy guarantees long-term surface resilience in high-traffic commercial spaces.
G·ONE Precast Slabs and Divider Strips
G·ONE Premium Precast Terrazzo tiles simplify your jobsite workflow significantly compared to poured-in-place methods. Factory production under controlled variables removes unpredictable field conditions. G·ONE maintains strict batch control and quality checkpoints to ensure consistent aggregate exposure.
| Standard Step | Engineering Specification or Control | Performance Advantage |
|---|---|---|
| Mix Verification | Lab sample panel confirmation | Ensures repeatable surface tone across batches |
| Density Spec | Bulk density of 2.62 g/cm³ | Reduces internal voids for high strength |
| Moisture Spec | Low water absorption of 0.4–0.5% | Prevents localized staining and surface degradation |
| Surface Finish | Factory-direct controlled finishing | Delivers uniform aggregate exposure on every slab |
These engineering specs give each precast tile exceptional structural integrity. Factory casting lowers the overall carbon footprint of your building material by reducing jobsite waste.
You must establish a clean tile grid layout before setting any materials on the jobsite. Installers place decorative metal divider strips along control joints to control movement. You then apply a medium-bed thin-set mortar using a notched trowel to seat each tile securely. Place 1/8-inch tile spacers between individual units to maintain uniform joint widths. Proper thin-bed tile installation techniques prevent uneven edges across your finished surface.
After the mortar cures, you fill open tile joints using high-strength grout formulations. This step locks every tile into a continuous surface. Choosing precast epoxy terrazzo tile units speeds up project schedules while preserving design beauty. You achieve an elegant finish with reliable quality across every floor section.
Step-by-Step Terrazzo Floor Installation
Setting and Mortar Application
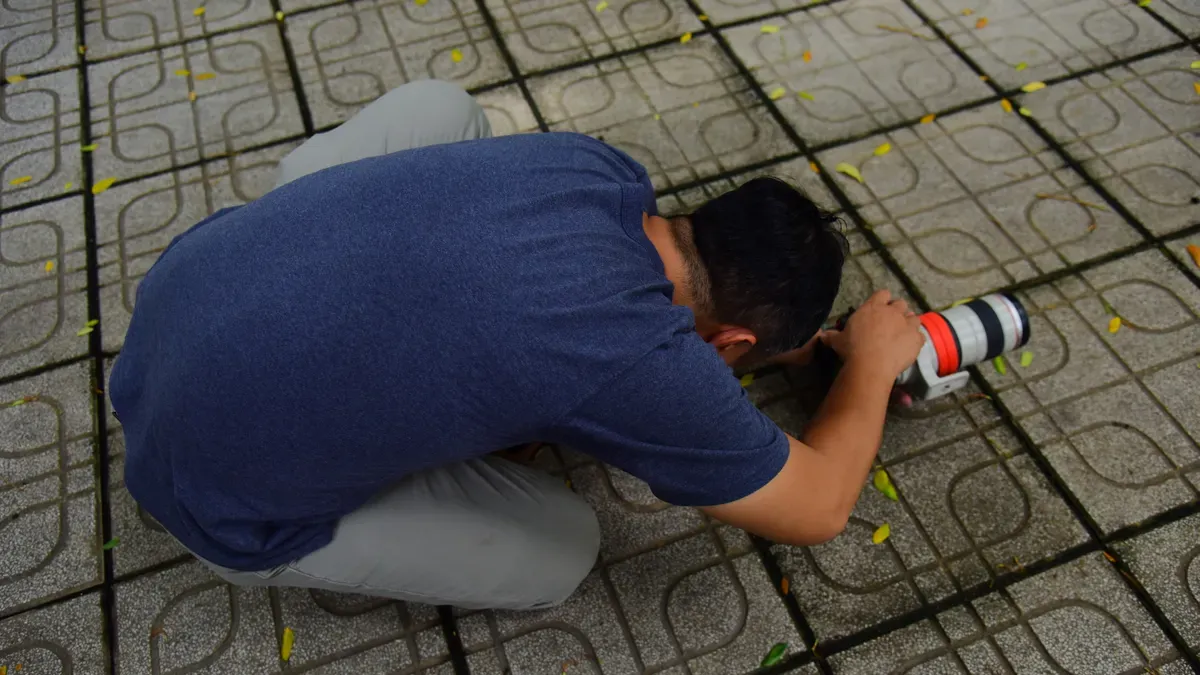
You begin the terrazzo floor installation by verifying subfloor cleanliness. You mix your thin-set medium-bed mortar according to manufacturer guidelines. You apply the mortar evenly onto the prepared concrete substrate using a notched trowel. You comb the wet bed in straight lines to maximize surface contact. You place each precast terrazzo tile onto the fresh layer carefully. You push each tile firmly to collapse mortar ridges. Proper installation supervision prevents jobsite delays.
You follow these structured steps during tile positioning to ensure flawless alignment across the terrazzo floor:
- Lay the first tile against your established baseline guidelines.
- Embed 1/8-inch plastic spacers along each tile edge.
- Check tile height using a long spirit level.
- Adjust adjacent tile units immediately to avoid lip issues.
You pour custom fill material into tight perimeter recesses where precast units require custom trimming. Installers mix matching epoxy liquid components with selected stone chips. This specialized epoxy mixture cures rapidly to form a monolithic matrix. You maintain uniform joint spacing across every tile section. Precise mortar application secures each tile firmly and prevents tile movement during future heavy grinding passes. Executing this correct installation step guarantees long-term strength for your installation project. Proper tile alignment speeds up project installation efficiency significantly. Specifying epoxy terrazzo components guarantees superior physical strength.
Grinding Grouting and Polishing
You transition to mechanical surface processing after the setting bed cures completely. Initial heavy grinding removes minor height differences between adjacent tile edges. You select coarse metal-bond diamond tooling (typically 30 to 50 grit) for the initial leveling pass. You run heavy grinders across the surface in overlapping passes. You perform wet grinding with 50 or higher abrasive grit medium diamonds to prepare your finished epoxy terrazzo surface for grouting.
You clean the subfloor before starting the grouting phase. You apply a high-strength epoxy grout resin across the entire terrazzo floor. This liquid epoxy fills microscopic pinholes and air voids between aggregate particles. You force the resin deep into open surface pores using rubber squeegees. You allow the liquid matrix to cure completely before proceeding to fine polishing phases.
You follow a strict grit progression during polishing:
| Process Phase | Recommended Grit Sequence (From Coarse to Fine) | Purpose |
|---|---|---|
| Intermediate Honing | 100 → 200 → 400 | Removes coarse scratch patterns |
| Fine Polishing | 800 → 1500 → 3000 | Develops final high-gloss surface shine |
Once the first cut is made, the floor is subjected to finer and finer grits of diamond. At each stage, the scratches from the preceding grit are removed, and the floor becomes tighter, until it starts to take on clarity and polish.
You complete the final polishing pass with resin-bond diamond pads reaching up to 3000 grit. This fine step creates a reflective, dense surface across your epoxy terrazzo system. Continuous water flushing removes slurry waste during each grinding pass. You inspect the polished terrazzo floor under direct illumination to check surface clarity. Your meticulous execution of this multi-stage terrazzo polishing process yields an exceptionally smooth terrazzo finish. This detailed terrazzo floor installation process ensures optimal aesthetic appeal throughout your commercial installation. Careful installation monitoring maintains project schedules.
Terrazzo Sealing and Maintenance
Sealer Selection and Slip Resistance
You must protect your newly polished tile surface by applying a high-performance floor sealer. Water-based sealers contain zero volatile organic compounds to safeguard internal air quality in commercial buildings. You apply a penetrating sealer like StoneTech Professional BulletProof or a topical water-based acrylic finish like Hi-Shine 25 across the continuous floor grid. You must avoid harsh acid or alkali cleaners because chemical burns damage delicate stone surfaces. Cleaning teams must use only a neutral pH cleaner prior to final sealing operations.
You must seal high-traffic areas regularly with two to three coats of water-based sealer to protect the floor from deep staining.
Proper sealing enhances safe foot traffic across busy corridors. You verify that your finished terrazzo floor meets current Dynamic Coefficient of Friction standards to prevent slip hazards. Applying two coats of a water-based acrylic formula protects the epoxy binder from embedded dirt. The transparent coat preserves deep color clarity across every aggregate particle.
Site Protection and Handover
You must safeguard the finished tile installation from adjacent construction trade work. Workers should lay non-slip Skudo mats directly over the polished tile surface for residue-free removal. Heavy machinery paths require protective Builder Board rolls featuring Liquid Shield technology to repel water, paint, and oil spills. Alternatively, Scofield Proguard DuraCover provides durable protection for delicate polished concrete and precast tile elements during high-impact building activities.
You complete the installation process by delivering comprehensive operational manuals to facility management teams. You train the housekeeping staff thoroughly to ensure successful ongoing maintenance across the entire building lifetime.
- Train the maintenance crew on surface-specific chemical applications.
- Teach correct dilution and application methods for daily cleaning routines.
- Provide clear safety precautions regarding non-acidic product usage.
Proper staff training preserves the structural integrity of your epoxy tile system. Clear documentation supports efficient maintenance routines. Your careful final inspection guarantees a smooth project handover.
You must verify every step of your terrazzo floor installation before final site sign-off. Compliance with NTMA standards guarantees structural stability across every tile. Specifying G·ONE precast units provides low water absorption and precise color control.
You protect your terrazzo floor investment through proper long-term maintenance documentation. Facility managers need detailed cleaning protocols to preserve surface quality over time.
- Perform daily dust mopping with a microfiber mop to capture fine dirt particles.
- Avoid abrasive or acidic cleaners during daily maintenance routines.
- Re-seal the terrazzo surface every 1 to 2 years for optimal protection.
Providing these logs ensures a smooth installation handover.
FAQ
How do you measure concrete subfloor moisture before terrazzo installation?
You must test concrete moisture using in-situ relative humidity probes according to ASTM F2170. Your concrete slab must register 75% relative humidity or lower before you install any precast terrazzo tile unit.
What concrete surface profile (CSP) does thin-set terrazzo require?
You must shot blast the subfloor to achieve a concrete surface profile of CSP 2-3 for thin-bed mortar applications. This surface texture creates a strong mechanical bond between the concrete subfloor and each set tile.
Why should you specify G·ONE precast terrazzo over poured-in-place options?
G·ONE precast terrazzo offers factory-controlled quality with a low water absorption rate of 0.4–0.5%. You receive consistent aggregate exposure across every tile while reducing overall jobsite labor and carbon emissions.
How often should facility managers seal a finished terrazzo floor?
You should re-seal your high-traffic floor every 1 to 2 years using a water-based sealer. Regular sealing protects each tile from deep stains and preserves surface dynamic coefficient of friction levels.